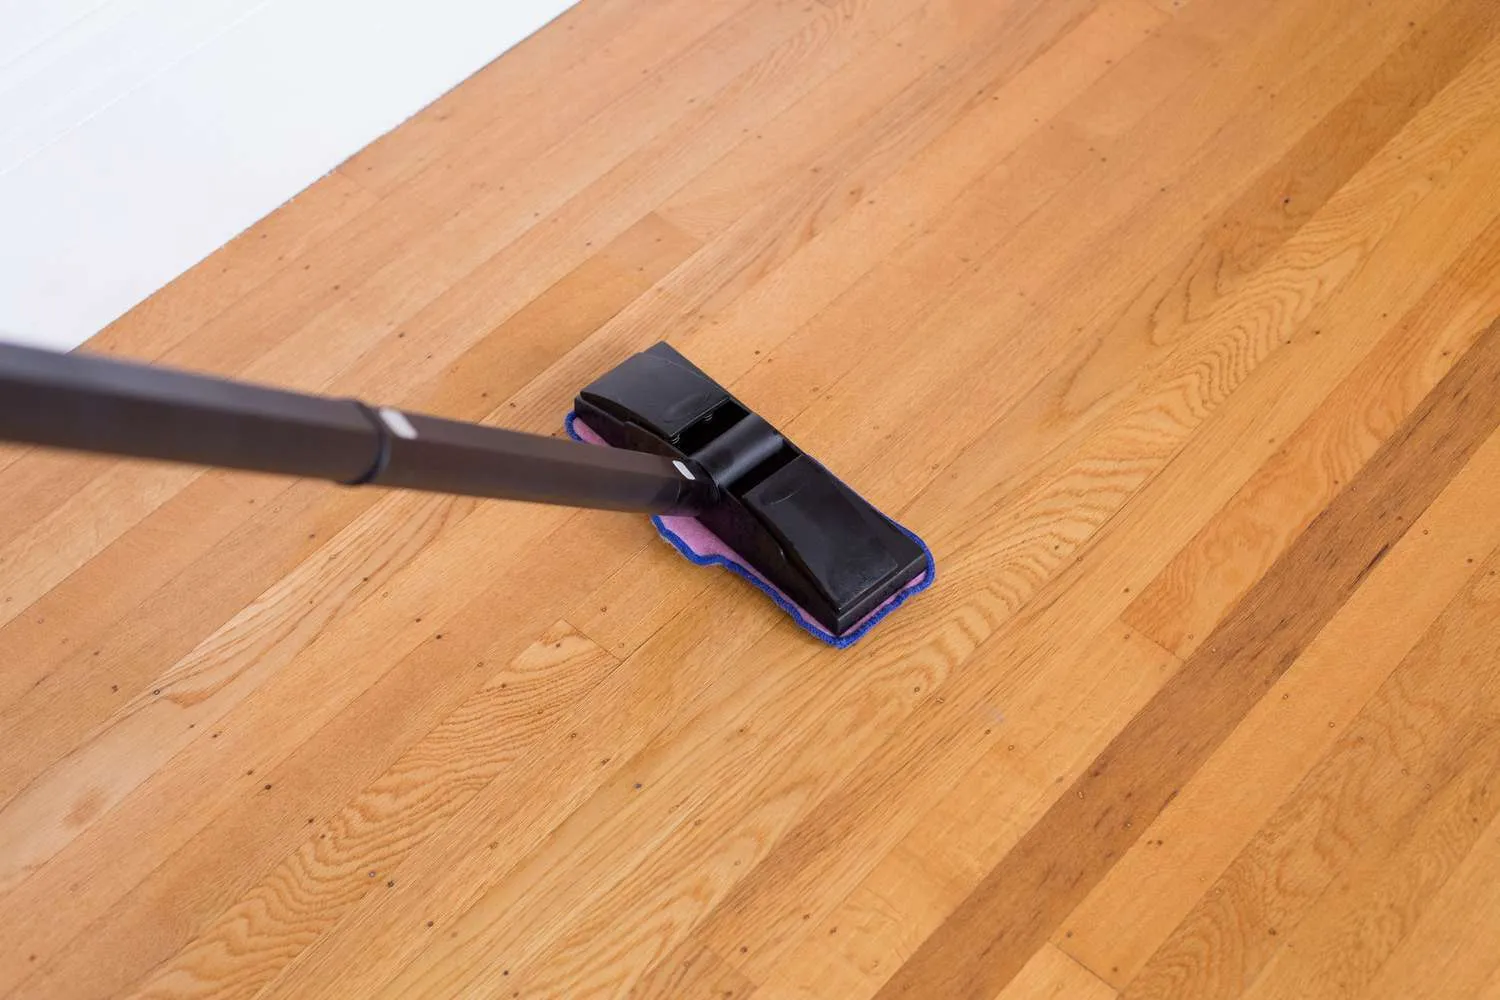
The Process of Refinishing Hardwood Floors: A Step-by-Step Guide
Refinishing hardwood floors can breathe new life into your home, enhancing both its beauty and value. This comprehensive guide will take you through each step of the refinishing process, ensuring you achieve a stunning finish.
Why Refinish Hardwood Floors?
Before diving into the process, it’s essential to understand why refinishing your hardwood floors is beneficial. Here are some key reasons:
- Restores the original beauty of the wood
- Increases the value of your home
- Removes scratches, dents, and stains
- Provides a protective layer to prolong floor life
- Allows for customization through various finishes
Preparing for the Refinishing Process
Preparation is crucial for a successful refinishing job. Follow these steps to get started:
- Clear the room of furniture and other items.
- Inspect the floor for any damage or areas that may need repair.
- Clean the floors thoroughly to remove dirt and debris.
- Ensure the room is well-ventilated.
Step-by-Step Refinishing Process
Step 1: Sanding the Floors
Sanding is the most critical step in the refinishing process. It removes the old finish and prepares the surface for new application.
- Use a drum sander for large areas and an edge sander for corners.
- Start with a coarse grit sandpaper (around 36-40 grit).
- Progressively move to finer grits (60, then 80 grit) for a smooth finish.
- Vacuum or sweep up dust and debris after sanding.
Step 2: Staining (Optional)
If you wish to change the color of your hardwood floors, now is the time to apply stain. Consider the following:
- Choose a stain that complements your home’s decor.
- Apply a test patch to see how the color turns out.
- Use a brush or cloth to apply evenly.
- Allow the stain to dry according to the manufacturer’s instructions.
Step 3: Applying the Finish
The finish protects your floors and adds a beautiful sheen. Here’s how to apply it:
- Choose between oil-based or water-based polyurethane finishes.
- Use a roller or brush for application.
- Apply at least two to three coats for durability.
- Allow adequate drying time between coats.
Step 4: Final Touches
Once the final coat is applied and dried, here are the finishing touches:
- Inspect for any imperfections and sand lightly if necessary.
- Clean the floors with a soft, damp cloth.
- Reinstall baseboards or moldings if removed.
- Allow the floor to cure before moving furniture back in.
Maintaining Your Newly Finished Floors
To keep your hardwood floors looking great for years, follow these maintenance tips:
- Regularly sweep or vacuum to remove dirt and debris.
- Use a damp mop with a suitable hardwood floor cleaner.
- Avoid excessive water exposure.
- Place rugs in high-traffic areas to minimize wear.
Conclusion
Refinishing hardwood floors is a rewarding undertaking that can transform your living space. By following these steps and maintaining your floors, you can enjoy their beauty and durability for many years to come. If you feel overwhelmed by the process, consider reaching out to professionals like Delgado's Hardwood Flooring to ensure a flawless finish.